yes kallek og som sagt tak til guiden fra kri..
dette er hvad jeg hurtigt fik lavet til min mobil's 2 displays.. (de er kun på 10 fames og kunne se bedre ud hvis man bruge lidt længere tid på programmet... men rigtig fedt program.)


-
--
---
--
-
guide:
Tutorial Properties
Title: Water Effect - Make an image have an animated water reflection.
Category: Imageready
Difficulty: Medium
Author: CJfX [aka .royalartist]
~~~~~~~~~~~~~~~~~~~~~~~~~~~~~~~~~~~~~~~~~~~~~
Outcome:
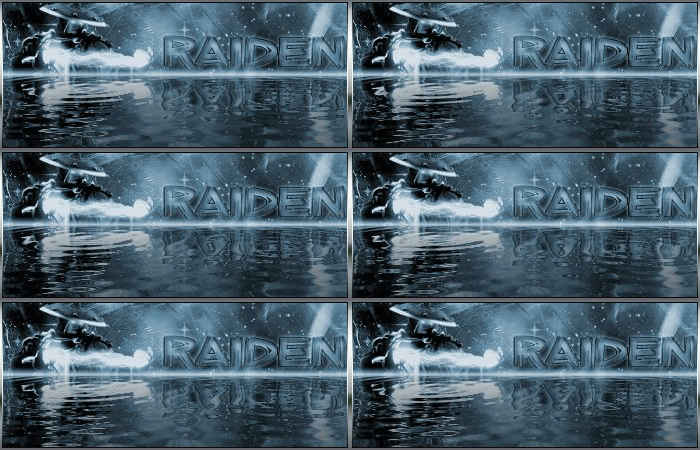
~~~~~~~~~~~~~~~~~~~~~~~~~~~~~~~~~~~~~~~~~~~~~
Okay first we need to download: "Sqirlz Water Reflections!"
(This program is approved by TutorialFX & .royalartist and contains NO Spyware / Viruses or anything of that nature.)
http://www.tucows.com/get/382027_143956
____________
Step 01.
After that we need a sig, or image, etc.
If you start with 350x150 the sig must be 350x75
Step 02.
Now start the Sqirtz Water Reflections Program you downloaded.
> File > Open > Your image.
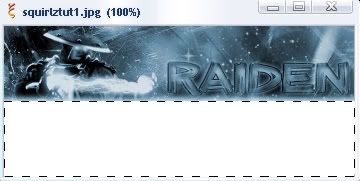
>> Now take the "------" tool and make the selection on the outline of the white part of the image. Like Below.
[The "------" tool is on the left site at your tool bar.]
Step 03.
Now, after you've done that, press the "water-button."
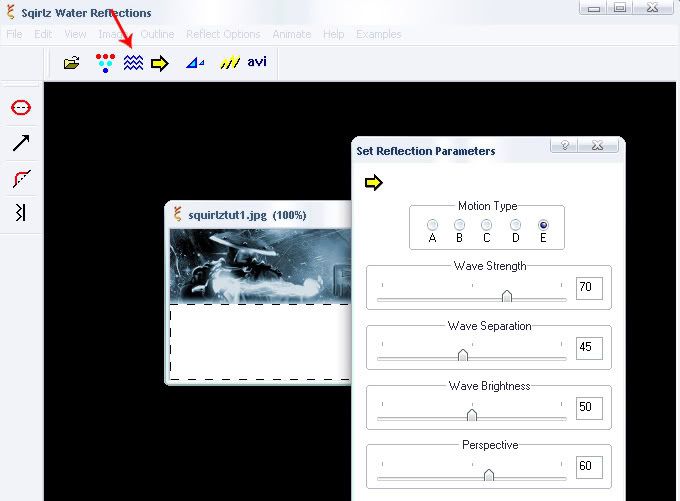
(These are my settings, you can choose what you want. These are the best for my image though.)
Step 04.
Now, Time to save. Click Animate -> File Sequence -> Save
I save it :
30 Frames
80% .jpg
Now put all of the images into it's very own folder.
Step 05.
Now start Image Ready and go to:
File -> Import -> Folder as Frames -> Your Folder
Note: When you open up your images in Image Ready, the layers WILL be out of order. You are going to have to re-order the layers in the Animation Window.
Step 06.
Set all Other Layers to invisible except Layer 1.
Now dublicate the layer in the animation-window and make the 1st Layer invisible. Make the 2nd Layer invisible.
This you do with all your Layer's!
It's really hard because you can't tween thot Layer's!
If you open the layers in Image Ready, there like this "1,11,2,12,3,13" or somthing like that...you have to bring them like this: " 1,2,3,4,5,6,7,8,9,10 ----"
Look that your Layers in the right Sequence (Pic 1, Pic 2, Pic 3)
If not then improve it. Was the Delay on all Amination Frames the Same?
Step 07.
Now go to File -> Save Optimized As... , to save your image.
Your Outcome should look like the image on the top!
Now your done!
Enjoy!


